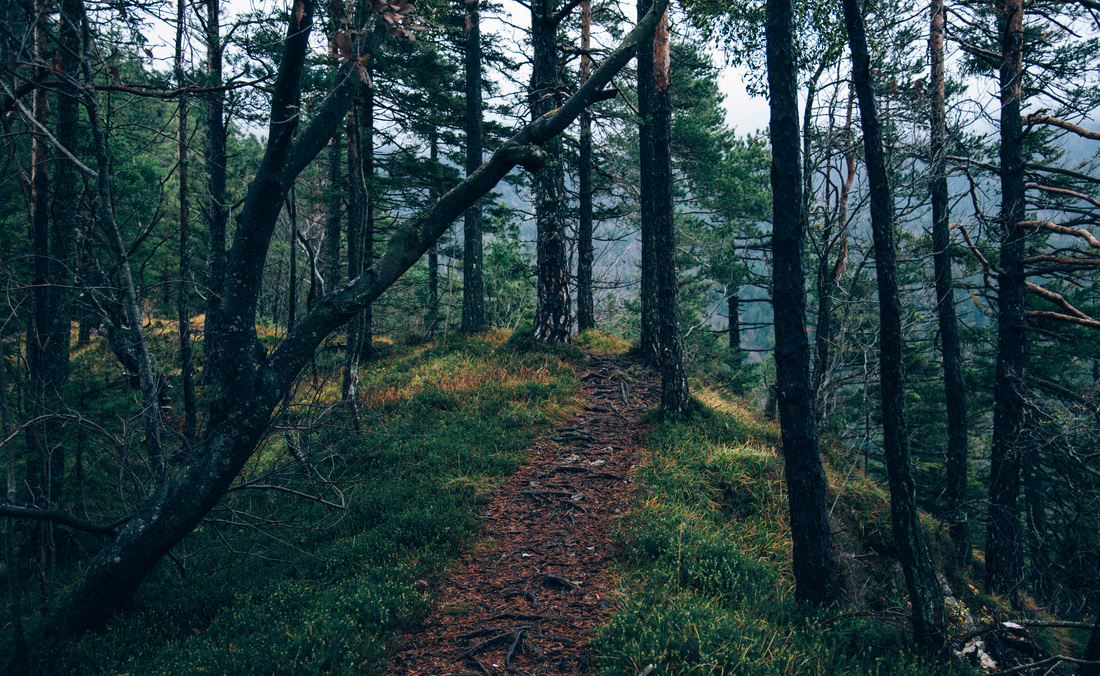
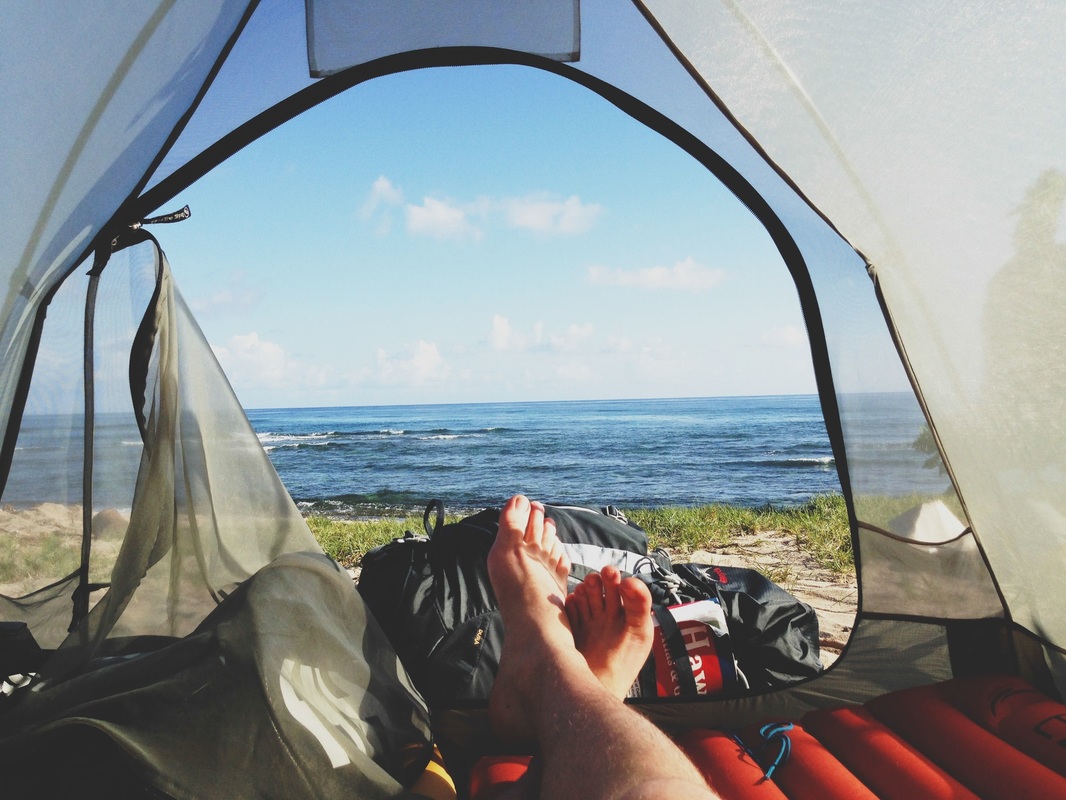
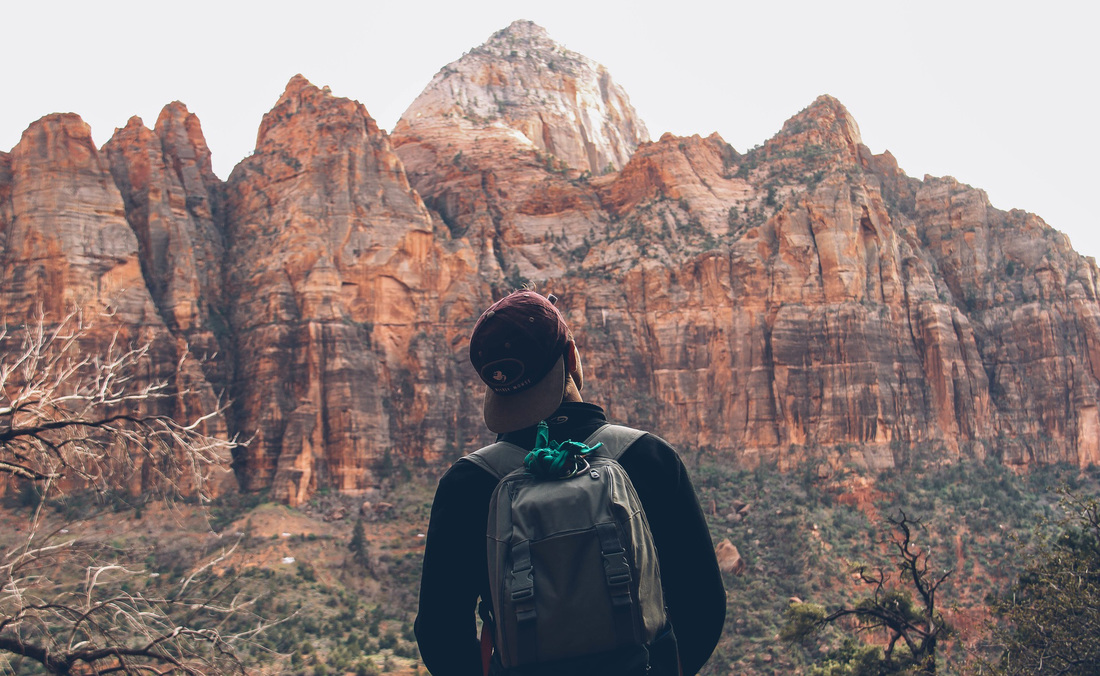
I'm James. This is my year of travel.
 
With Inpaint area: Only maskedĮnabled, only the masked region is resized, and after processing it is pasted back to the original picture. Normally, inpainting resizes the image to the target resolution specified in the UI. This does not represent final output, it's only a look at what's going on mid-process. The masked content field determines content is placed to put into the masked regions before they are inpainted. To use the model, you must rename the checkpoint so that its filename ends in inpainting.ckpt, for example, 1.5-inpainting.ckpt.Īfter that just select the checkpoint as you'd usually select any checkpoint and you're good to go. This model accepts additional inputs - the initial image without noise plus the mask - and seems to be much better at the job.ĭownload and extra info for the model is here: RunwayML has trained an additional model specifically designed for inpainting. change mode (to the bottom right of the picture) to "Upload mask" and choose a separate black and white image for the mask (white=inpaint).Be aware that some editors save completely transparent areas as black by default. Any even slightly transparent areas will become part of the mask. erase a part of the picture in an external editor and upload a transparent picture.In img2img tab, draw a mask over a part of the image, and that part will be in-painted. 
Is a good prompt that matches the picture, sliders for denoising and CFG scale set to max, and step count of 50 to 100 withĮuler ancestral or DPM2 ancestral samplers. Outpainting, unlike normal image generation, seems to profit very much from large step count. You can find the feature in the img2img tab at the bottom, under Script -> Poor man's outpainting. Original image by Anonymous user from 4chan. Outpainting extends the original image and inpaints the created empty space. Inpainting_mask_weight or inpainting conditioning mask strength works on this too. Model specifically designed for inpainting trained on SD 2.0 512 base. The depth-guided model will only work in img2img tab. Set COMMANDLINE_ARGS=your command line options Note: SD 2.0 and 2.1 are more sensitive to FP16 numerical instability (as noted by themselves here) due to their new cross attention module. If 2.0 or 2.1 is generating black images, enable full precision with -no-half or try using the -xformers optimization. Download your checkpoint file from huggingface.Adding additional memory-saving flags such as -xformers -medvram does not work. It is recommended to run with -xformers.Mechanically, attention/emphasis mechanism is supported, but seems to have much less effect, probably due to how Alt-Diffusion is implemented.Ĭlip skip is not supported, the setting is ignored. Put the file into models/Stable-Diffusion.Download the checkpoint from huggingface.Alt-DiffusionĪ model trained to accept inputs in different languages. 
Same rules for adding hypernetworks to the prompt apply as for Lora. Multiplier can be used to choose how strongly the hypernetwork will affect the output. Works in the same way as Lora except for sharing weights for some layers. HypernetworksĪ method to fine tune weights for CLIP and Unet, the language model and the actual image de-noiser used by Stable Diffusion, generously donated to the world by our friends at Novel AI in autumn 2022. A batch with multiple different prompts will only use the Lora from the first prompt. The text for adding Lora to the prompt,, is only used to enable Lora, and is erased from prompt afterwards, so you can't do tricks with prompt editing like. Lora cannot be added to the negative prompt. Lora is added to the prompt by putting the following text into any location:, where filename is the name of file with Lora on disk, excluding extension, and multiplier is a number, generally from 0 to 1, that lets you choose how strongly Lora will affect the output. Support for Lora is built-in into the Web UI, but there is an extension with original implementation by kohyaa-ss.Ĭurrently, Lora networks for Stable Diffusion 2.0+ models are not supported by Web UI. A good way to train Lora is to use kohya-ss. Long explanation: Textual Inversion LoraĪ method to fine tune weights for CLIP and Unet, the language model and the actual image de-noiser used by Stable Diffusion, published in 2021. Extra networkĪ method to fine tune weights for a token in CLIP, the language model used by Stable Diffusion, from summer 2021. Clicking the card adds the model to prompt, where it will affect generation. It unifies multiple extra ways to extend your generation into one UI.Įxtra networks provides a set of cards, each corresponding to a file with a part of model you either train or obtain from somewhere. A single button with a picture of a card on it.
0 Comments
Leave a Reply. |
AuthorWrite something about yourself. No need to be fancy, just an overview. ArchivesCategories |
 RSS Feed
